
Periodontal Splint
Ribbond is perhaps best known for making periodontal splints. Ribbond splints are strong, highly bondable and esthetic. A Ribbond splint takes less time than traditional methods, is more esthetic, less bulky and exceptionally failure resistant.Watch the Video
This video shows a mandibular splint that is placed on the lingual surfaces of the teeth. For maxillary splints, we recommend bonding the Ribbond into a small groove prepared on the facial.
Technique
Optional tooth preparation

If desired, the splint can be buried by cutting a channel in the teeth at the level of the interproximal contacts and placing the Ribbond at the base of the channel. This will make it more resistant to debonding and will maximize the longevity, esthetics and comfort of the splint.
Step 1
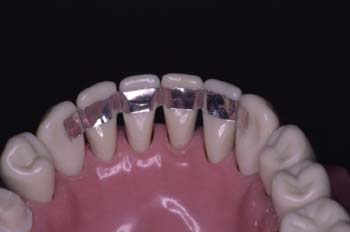
Measure the teeth and cut the Ribbond. Make a pattern by closely adapting a piece of tinfoil or dental floss to the teeth. Cut the Ribbond to the measured length.
Step 2
Prepare lingual surfaces and labial interproximals for bonding. Prepare the teeth for bonding in your standard manner (clean, acid-etch, apply a thin layer of bonding adhesive, remove excess adhesive, and cure)
Optional block-out and stabilization technique. After acid etching, apply a vinyl polysiloxane block-out gingival to the area to be splinted. This stabilizes the teeth during splint construction and makes clean up easier. Photos in these instructions show this block-out technique.
Step 3
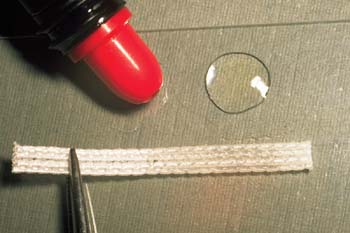
Wet the Ribbond with resin and blot off excess. Wet the Ribbond with an unfilled bonding adhesive or composite sealant and gently massage the resin into the fibers with an instrument and blot off the excess with a patient bib. Do not cure yet.
Step 4
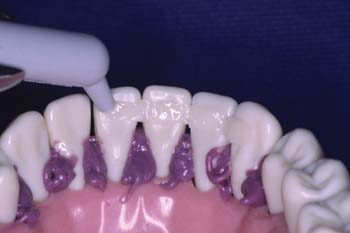
Apply filled composite to the teeth. Apply a thin layer of Ribbond Securing Composite or a paste-like, medium viscosity, translucent, filled composite resin at the level of the contact area. If using a paste like viscosity composite, use an instrument to flatten the composite to approximately 0.5 mm thick and contour to the surfaces of the teeth. Do not cure yet.
Step 5

Adapt the Ribbond. Holding the wetted Ribbond with metal pliers, position one end of the Ribbond against the composite on the tooth. Press the Ribbond through the composite against the teeth with your finger or an instrument.
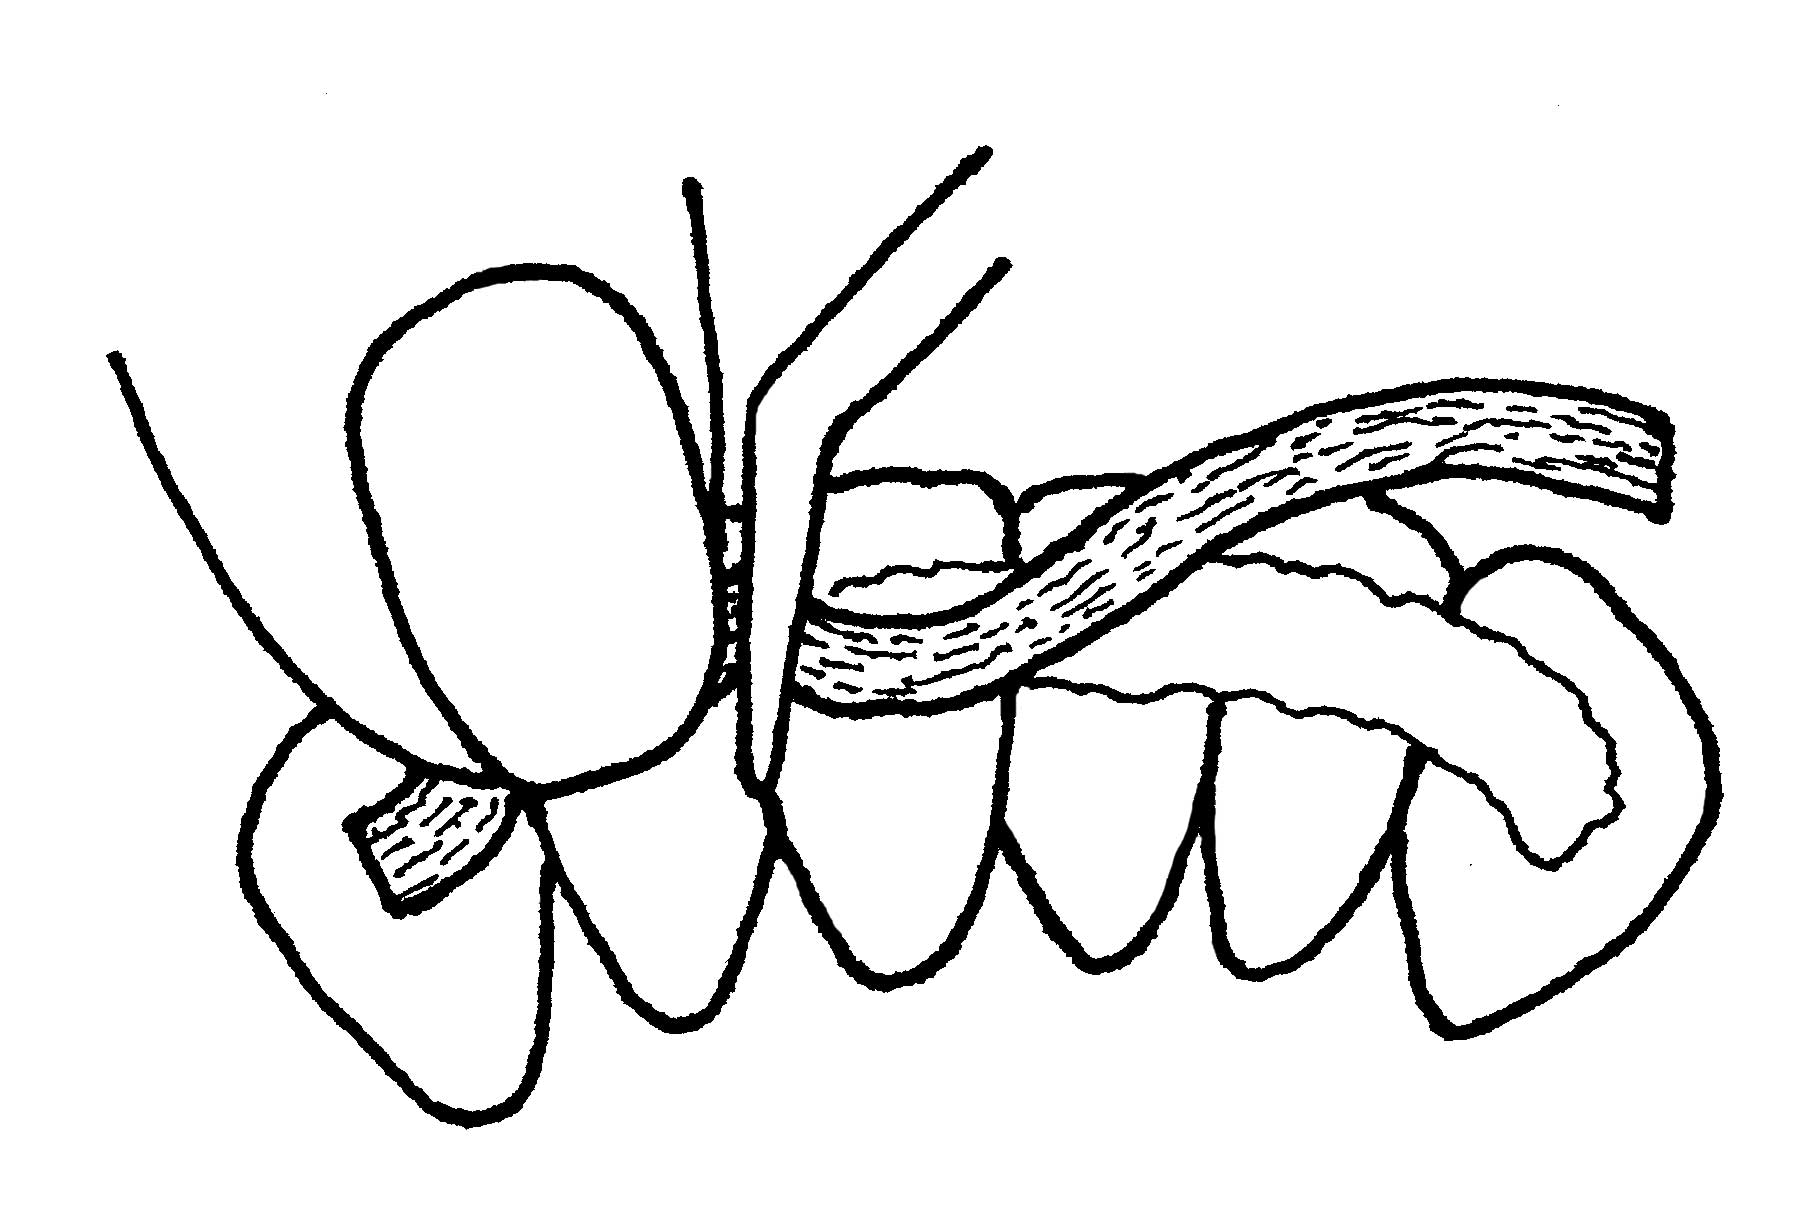
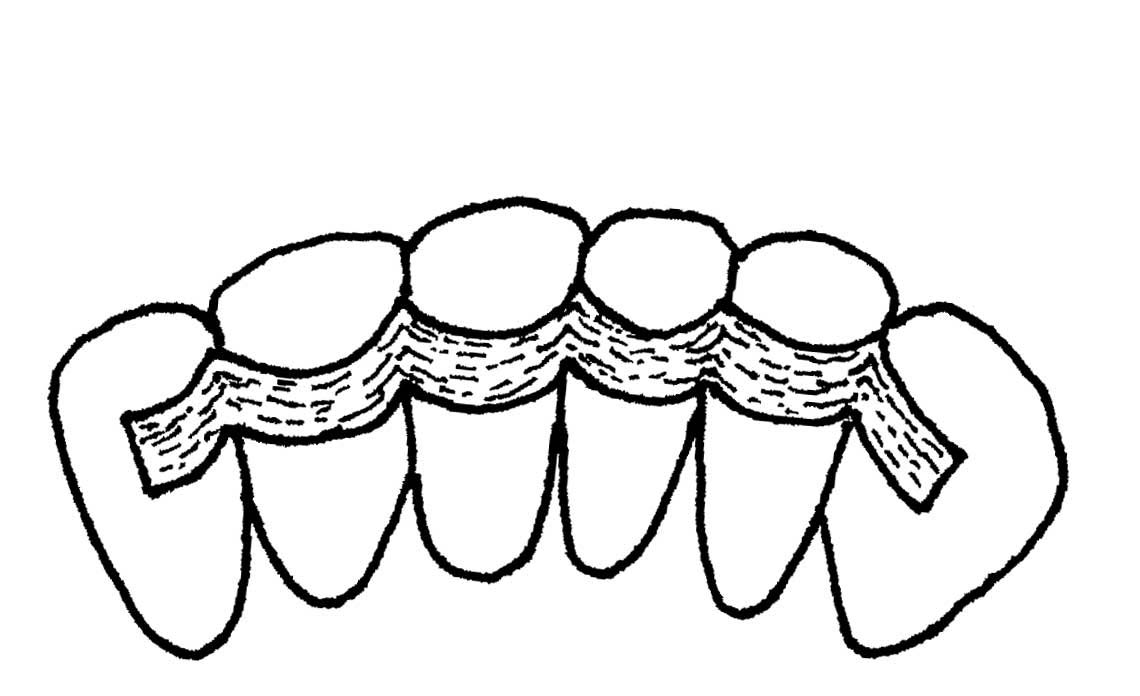
Step 6
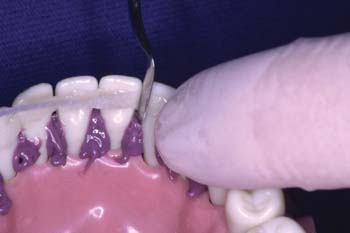
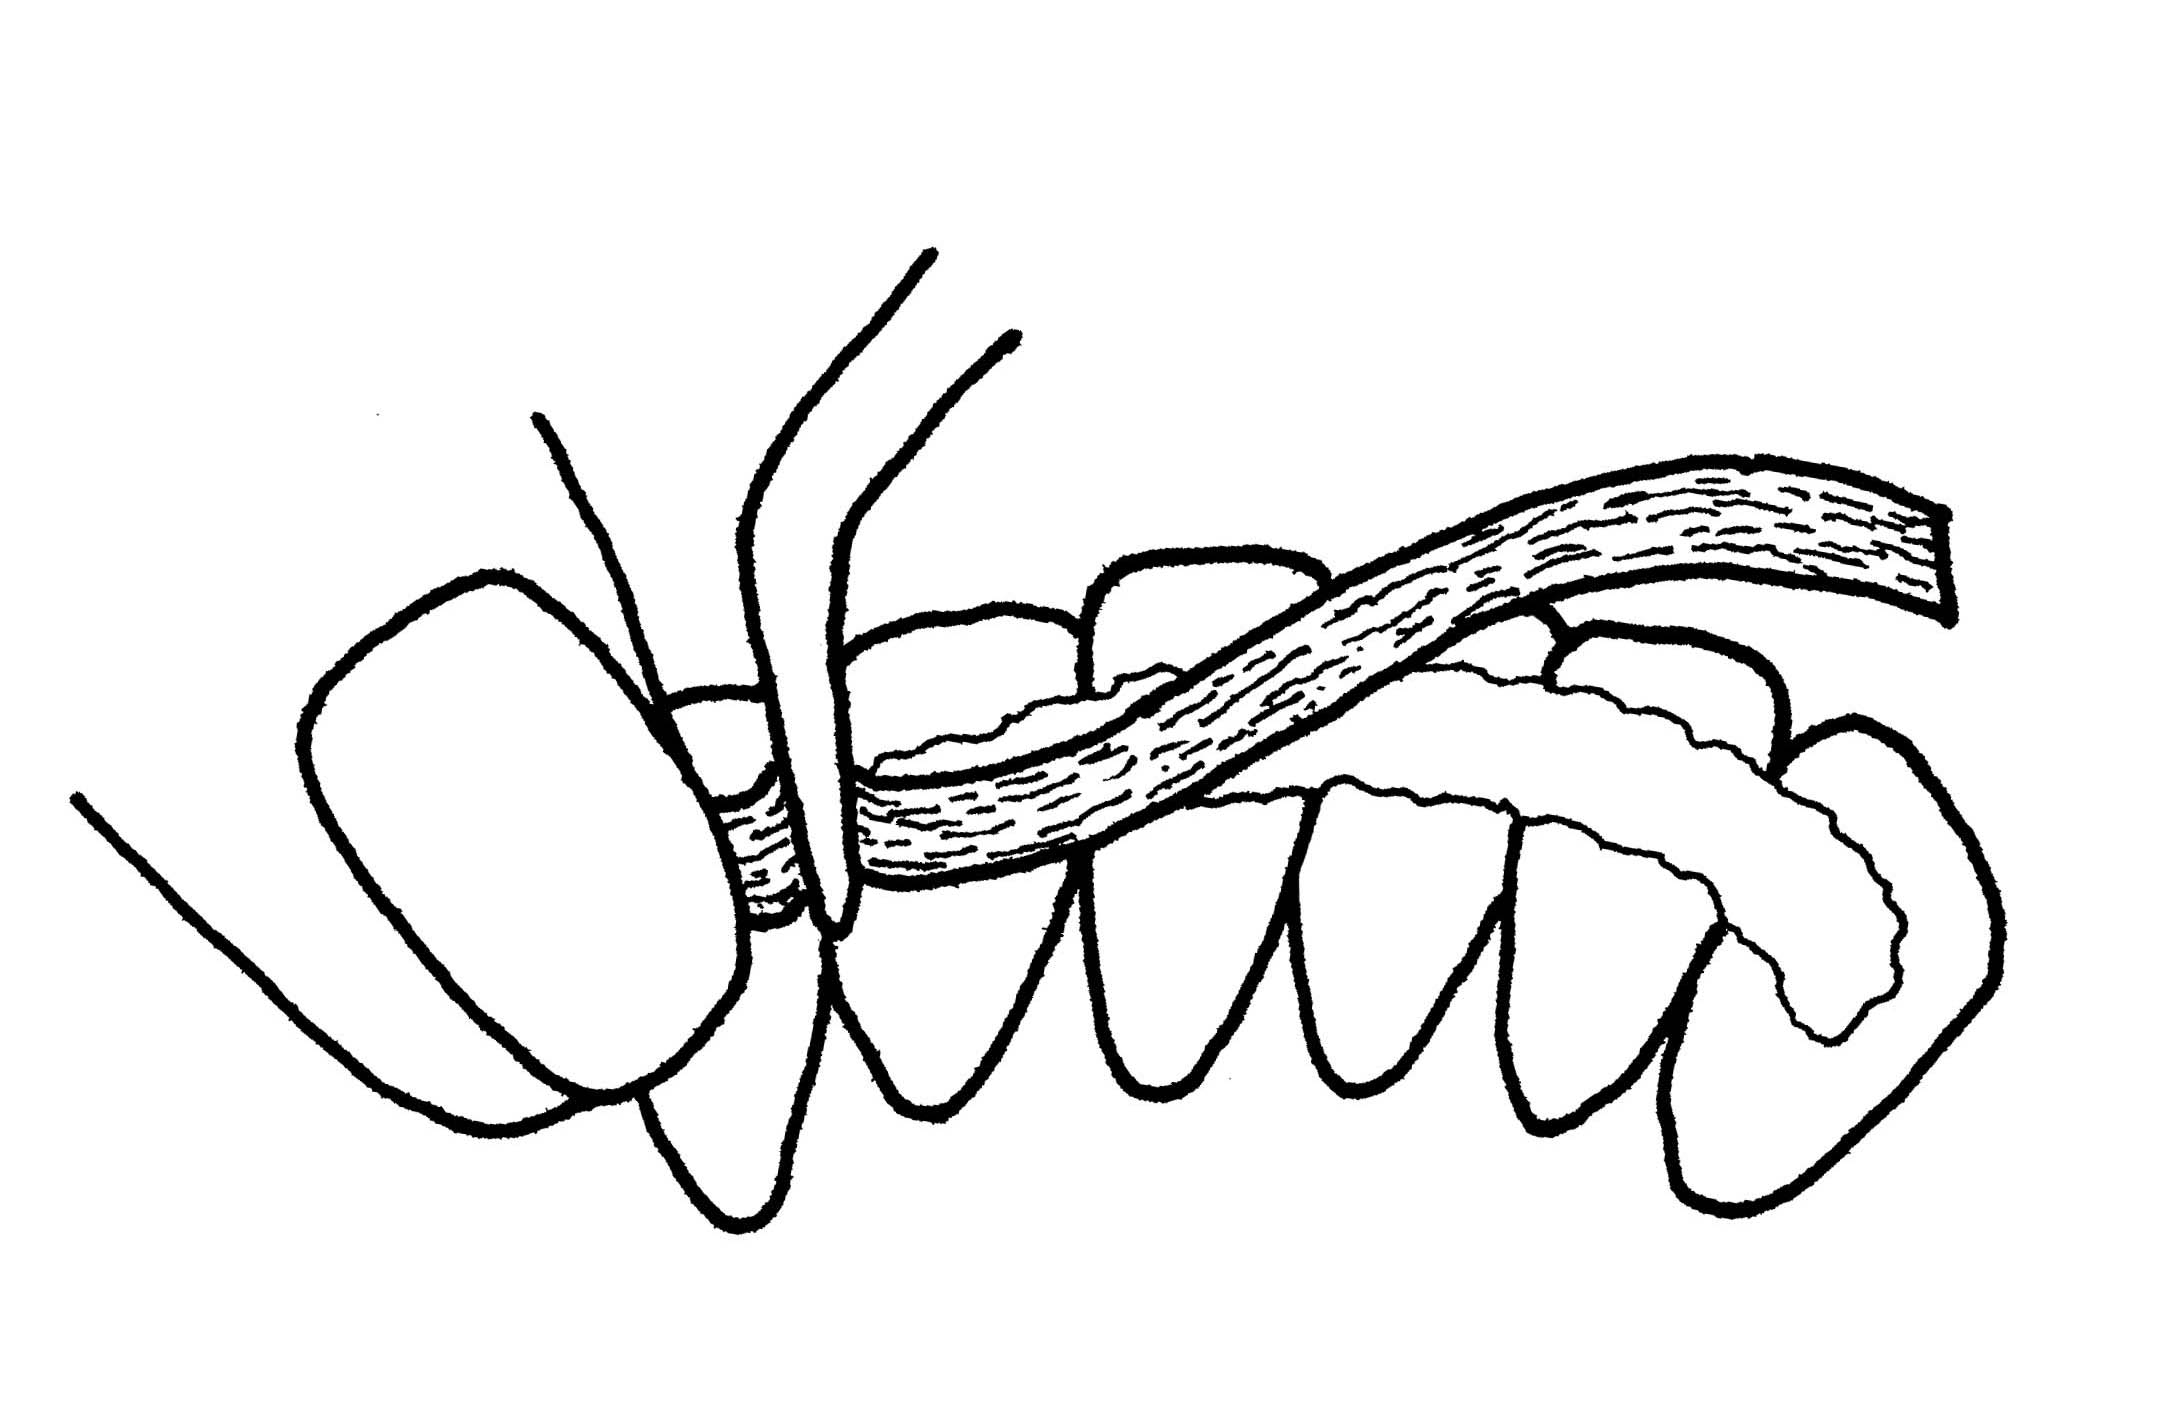
Adapt the Ribbond in the interproximal contact. To avoid pulling out the Ribbond that has already been adapted, hold the adapted part in position with a finger or an instrument. Place the Ribbond deep into the adjacent interproximal contact with an instrument. Continue until the entire length is adapted. Do not cure yet.
Step 7
Remove excess composite with a composite instrument. Prior to curing, remove excess composite with an instrument.
Step 8
Tack-cure the splint. Tack-cure the Ribbond for 5 seconds per tooth.
Step 9
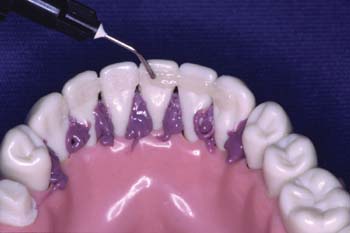
Cover the Ribbond splint with a flowable composite. Use a syringe or use a applicator brush to paint a layer of flowable composite over the Ribbond. If the composite slumps, you might need to apply multiple layers of flowable composite doing short light cures between layers. Do not use Ribbond Securing Composite for this covering layer.
Note: If a channel preparation is used, cover the Ribbond with a filled composite resin.
Step 10
Light-cure the covering layer of composite. After placing a sufficient layer of covering composite, thoroughly cure for 30-seconds per tooth.
Step 11
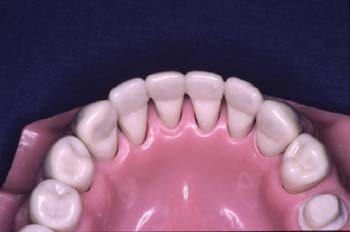
Check occlusion, finish and polish. Remove excess composite and polish with a composite-resin polishing paste.
The finished splint is thin, comfortable and esthetic