
Orthodontic Retainer
For post orthodontic retainers with 1/2 mobility or less, Ribbond offers the Orthodontic Ribbond. Using the same technique for making a periodontal splint, it is possible to make low bulk, bondable and esthetic retainers.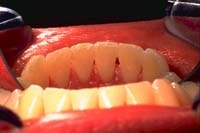
Technique
Step 1
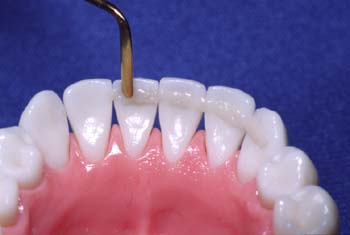
Prepare the teeth for bonding using your standard bonding procedure. Apply a thin layer of a paste composite at the level of the interproximal contacts.
Step 2
Wet the Ribbond with unfilled bonding resin (sealant). Adapt the Ribbond into the composite. Like a bonded bracket, the fixed Ribbond retainer must be closely laminated against the tooth.
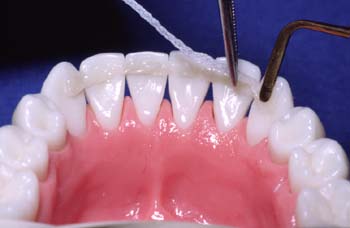
Step 3
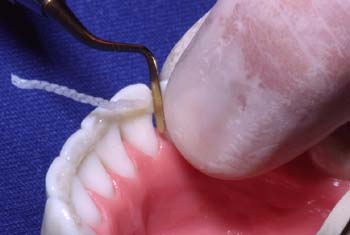
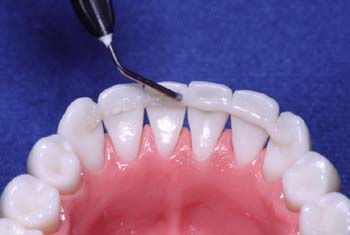
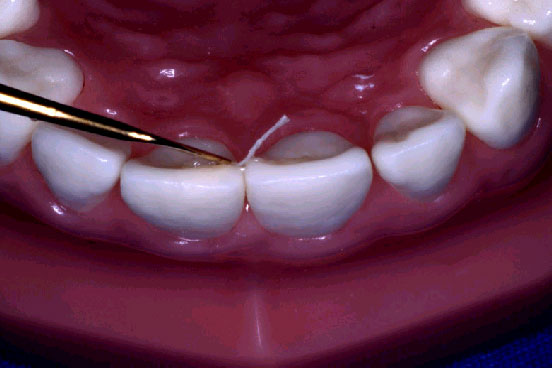
Hold the adapted Ribbond against the tooth with your finger. Use an instrument to place the Ribbond into the interproximal contacts closely against the adjacent teeth. Continue one tooth at a time until the entire Ribbond retainer is placed.
Step 4
The placement of a Ribbond retainer is different than a wire. The Ribbond is closely adapted against the teeth and deep into the interproximal contacts.
Step 5
After placement, remove extra composite and cure.
Step 6
Using applicator brushes, instruments or needle tipped syringes apply a thin coat of flowable composite over the Ribbond. Cure.
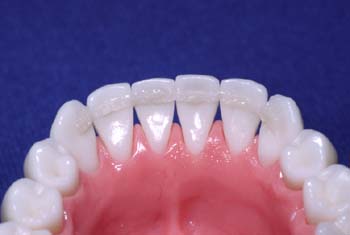
Step 7
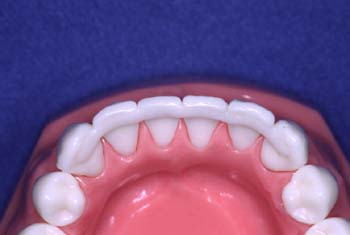
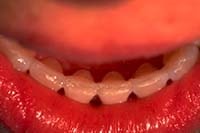
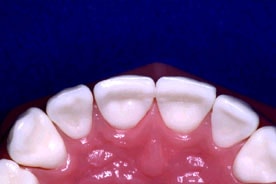
Esthetic and comfortable, the Ribbond retainer is complete.
Diastema Closure Maintenance
- Esthetic — No gray show-through
- Durable — Does not harden and fracture like wire
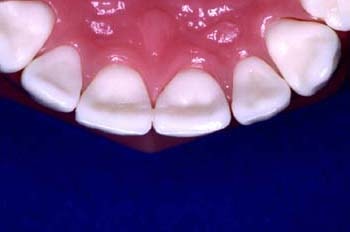
Step 1
Cut a shallow preparation in the teeth with a #4 round diamond, at the level of the interproximal contacts, and prepare teeth for bonding.
Step 2
Place a thin layer of paste composite in the preparation. Wet the Ribbond with bonding resin and press the Ribbond through the composite and against the base of the preparation.Cure.
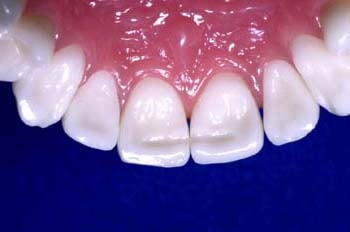
Step 3
An additional layer of composite is applied so that the retainer is flush with the surrounding tooth structure.The finished retainer "disappears" within the composite and has no bulk
Step 4
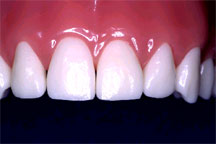
Unlike a metal wire Ribbond offers superior esthetics and is not visible.
Reinforcing Acrylic Orthodontic Appliances
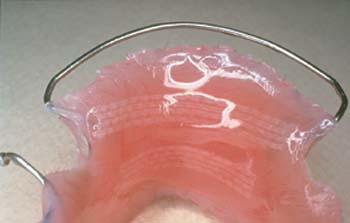
Ask your laboratory to include Ribbond to prevent fracture failures.